Arts Online Editor Helena Raymond-Hayling shares her favourite arts and crafts activities to upcycle waste materials.
Ever wondered what to do with that old skirt that has a cute pattern but a gnarly stain? What about those bits of broken necklace which you have no idea how to fix properly? Unleash your inner creativity, gather those odds and ends fit for the bin and give them a new purpose!
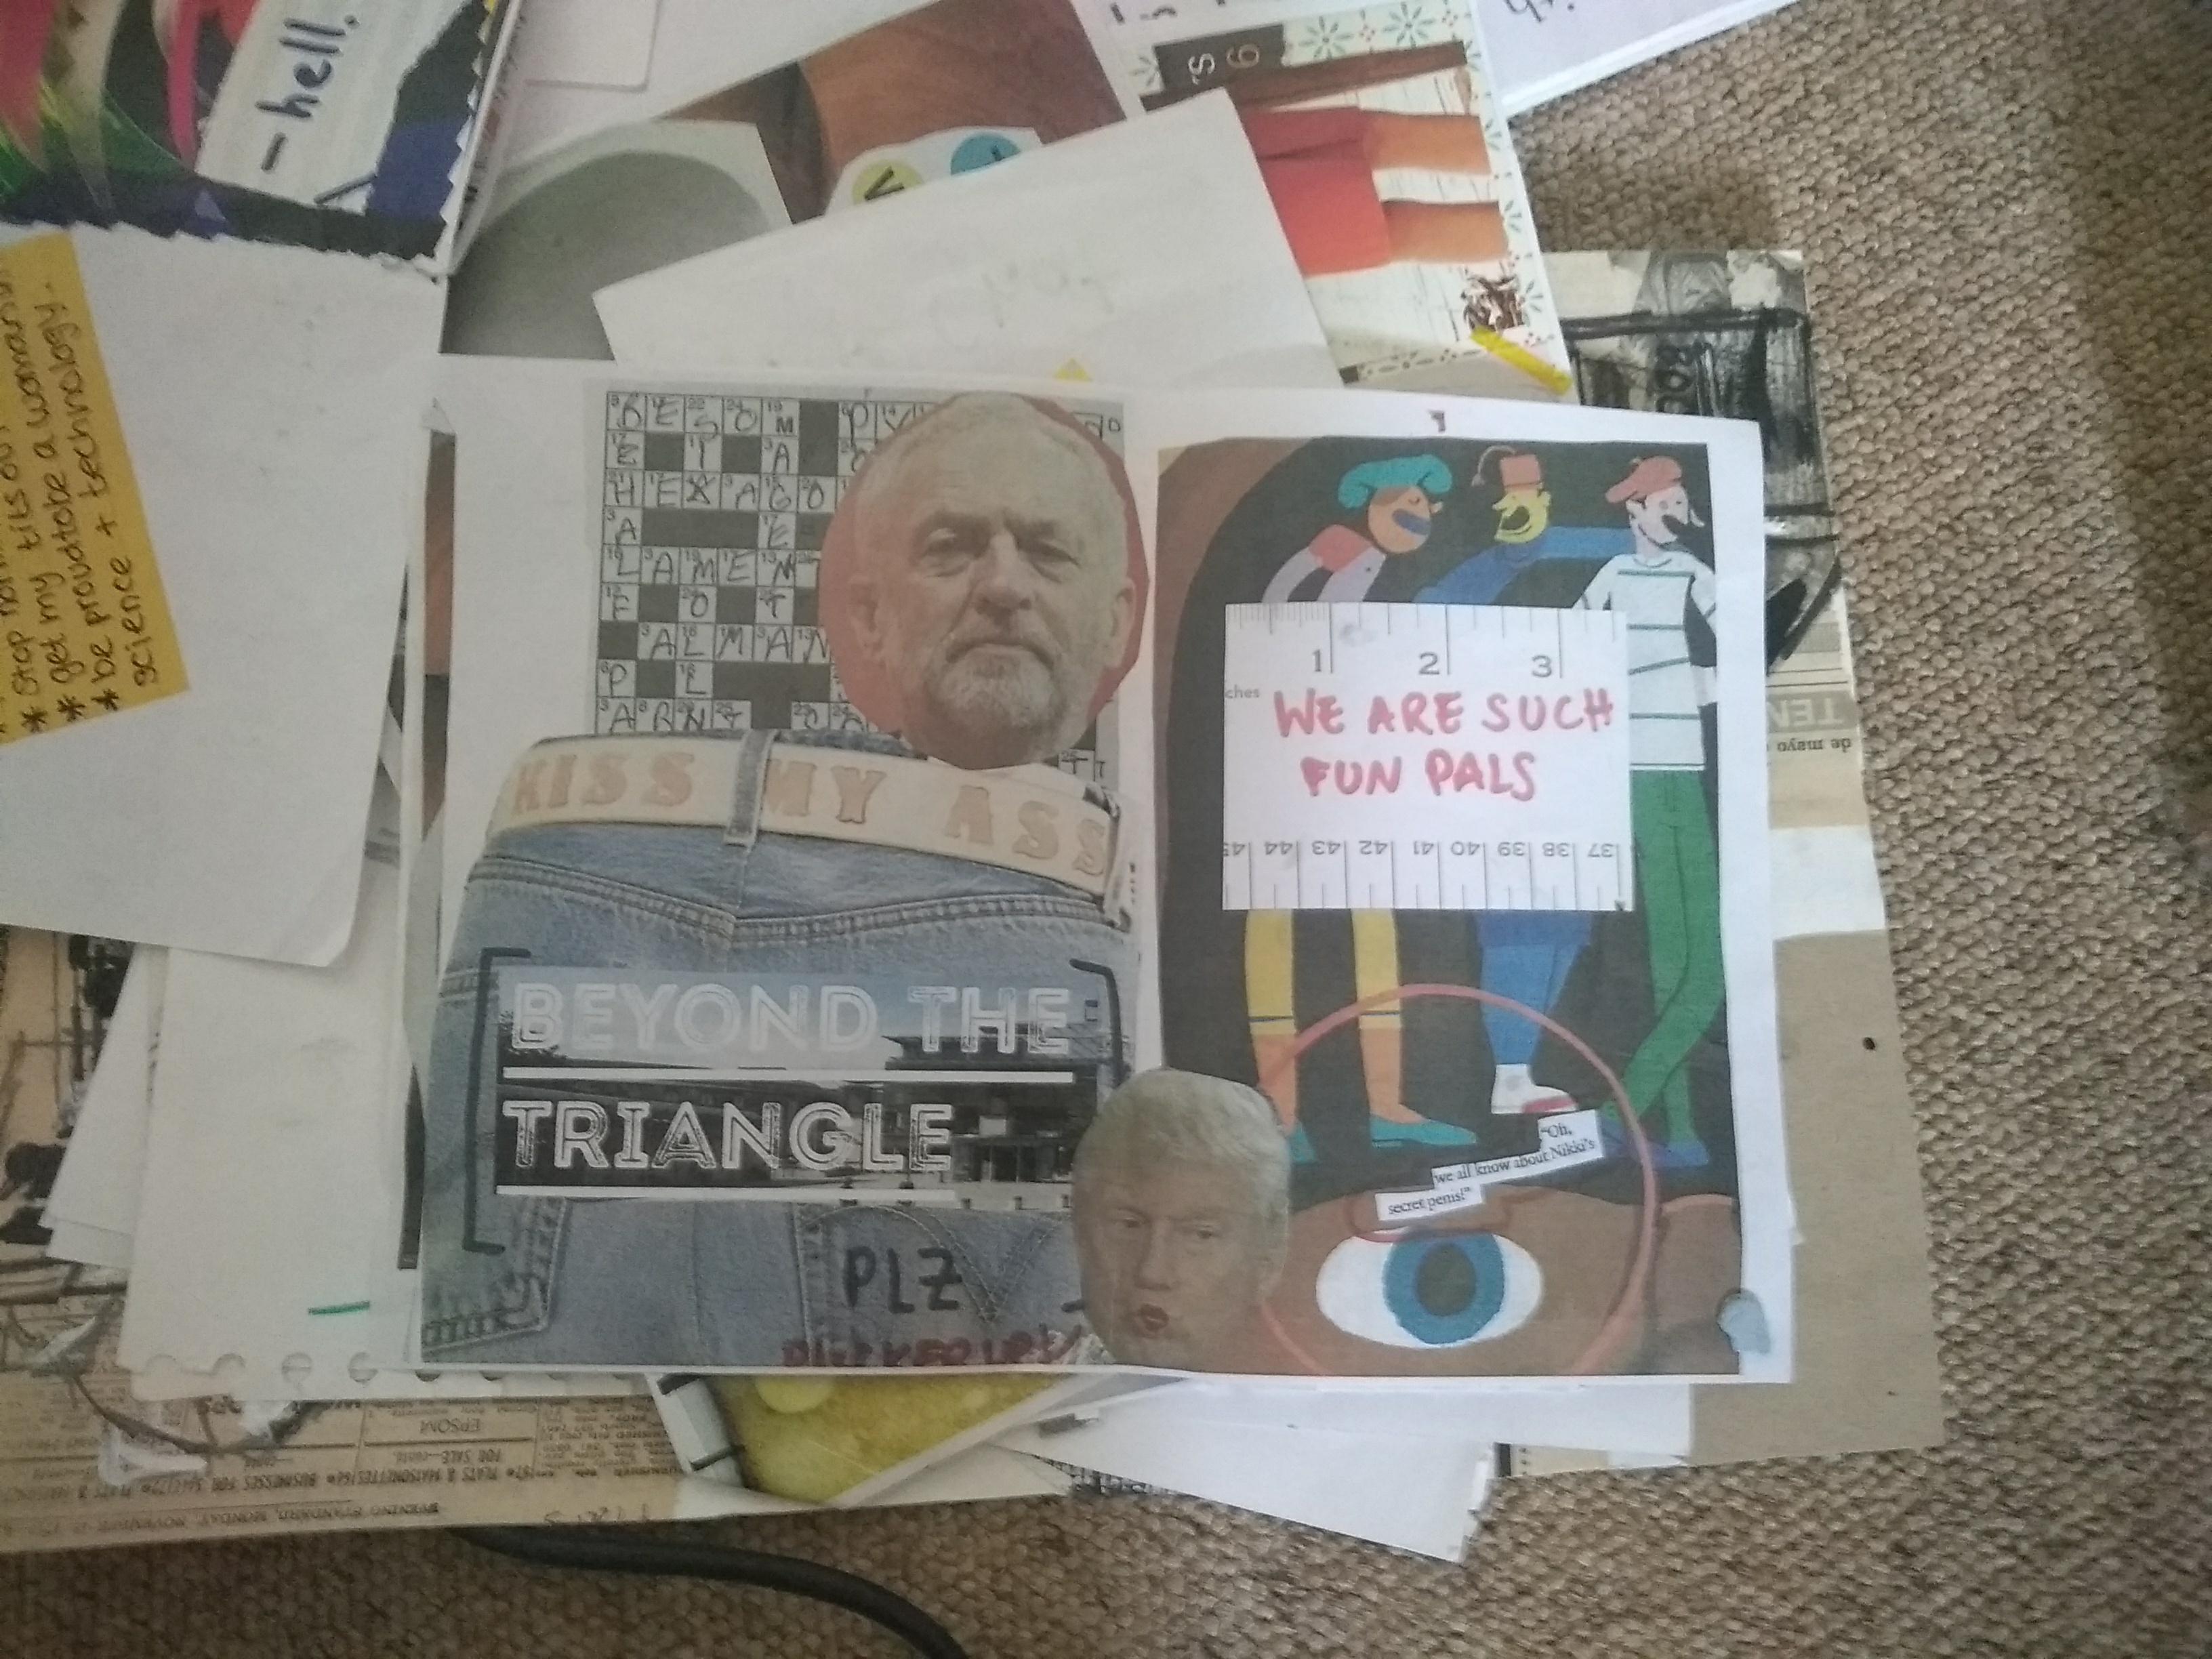
1. Zines
This is one of my favourite rainy day activities. The idea is so simple: gather old magazines, flyers and newspapers (I used the stack of paper I acquired from the fresher's fair), some scissors, marker pens and ordinary pritt stick, you can tell a story through random images and words both borrowed and your own.
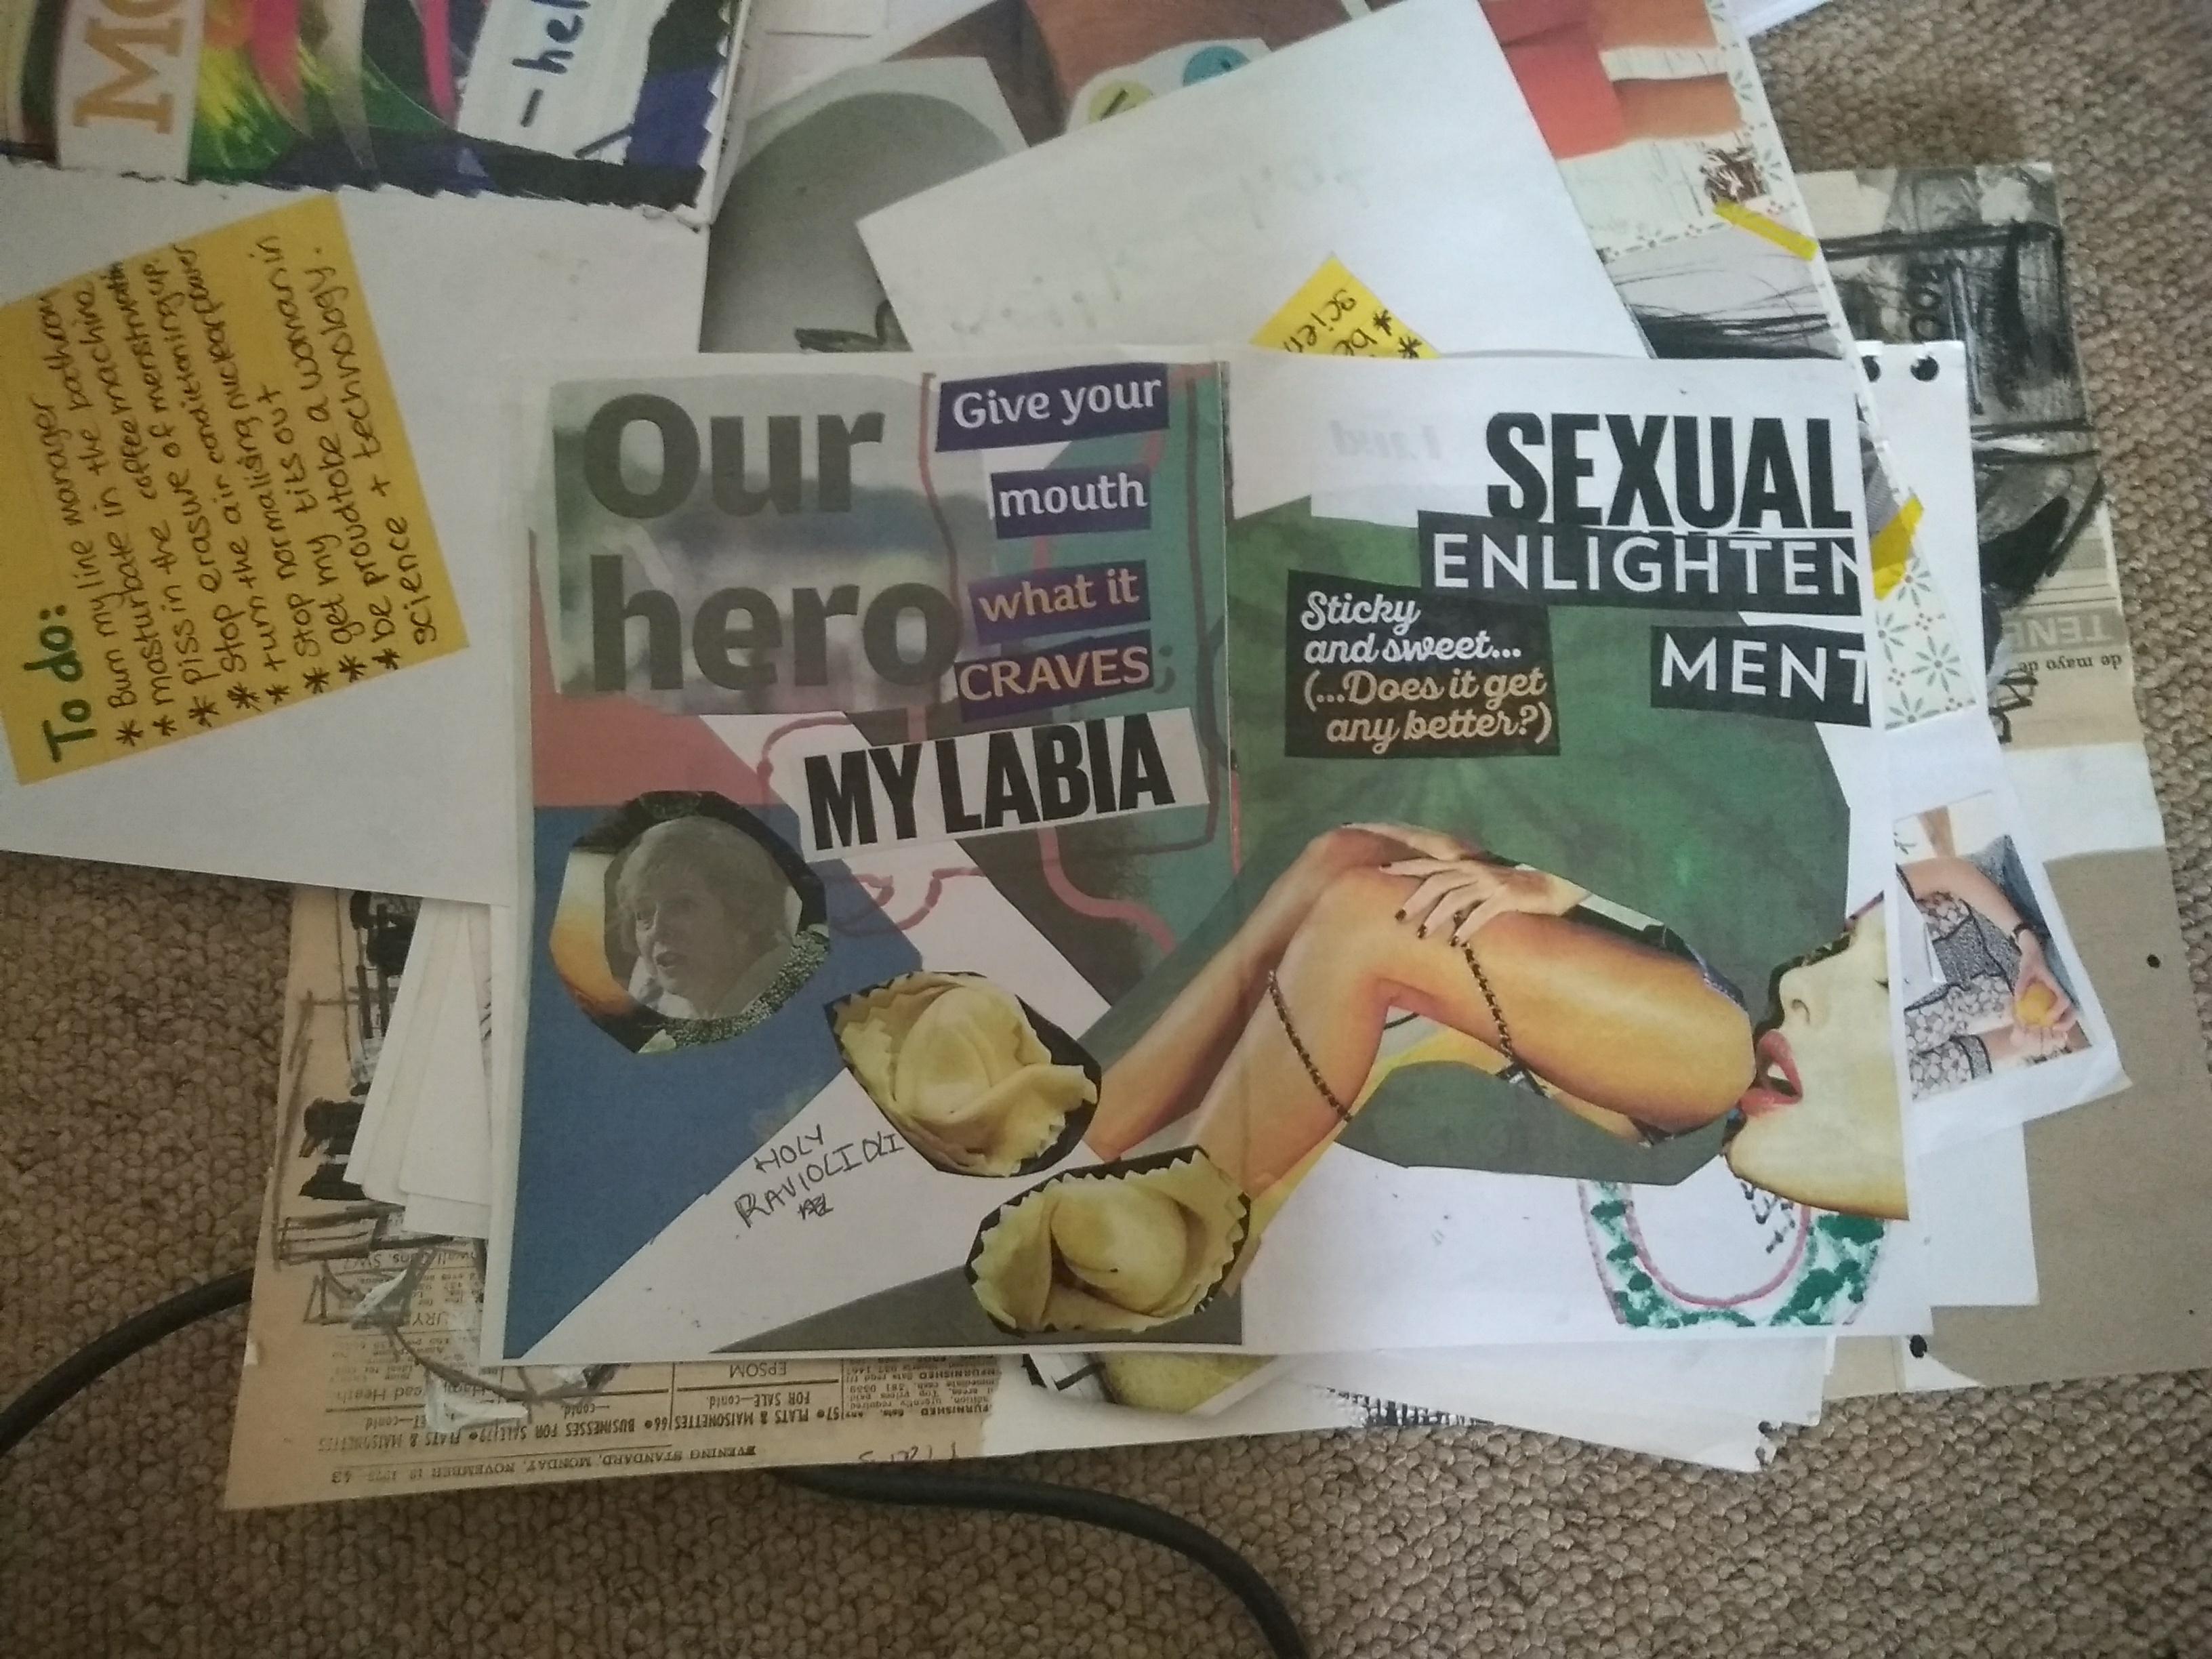
Epigram / Helena Raymond-Hayling
I recommend starting with two sheets of plain A4 paper folded in half, and stapled along the centreline. Use this as a base to create your zine, sticking bits and pieces down as you find them.
The best part about this is, you don't need any particular artistic skills, anyone can do this and have a really good time of it!
Epigram / Helena Raymond-Hayling
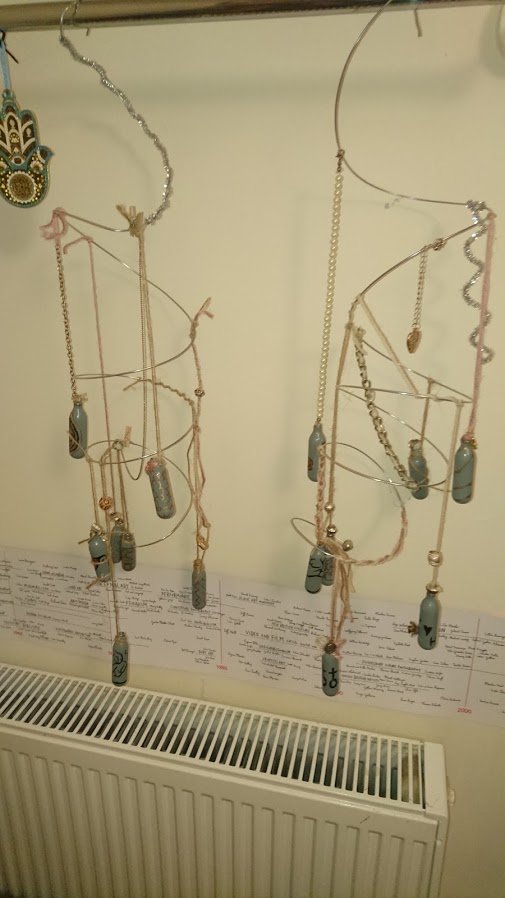
2. Windchime/sculpture
Cream chargers are incredibly wasteful, after big club nights and parties, they litter the streets of Bristol. When left on the ground in grassy festival fields, these metal canisters can injure the roaming animals and damage agricultural equipment once the event is over.
These metal canisters are not recyclable in domestic waste, and difficult to recycle altogether - so often get sent to landfill.
Frustrated by their wastefulness, I sought a way to repurpose these canisters - into ART.
Epigram / Helena Raymond-Hayling
For these, I have used garden wire (Wilko), pipe cleaners (Wilko), bits of yarn (knocking about), sharpie pens, canisters, beads and other bits of broken necklaces, and put it all together with hot glue. For this you'll need a glue gun which I bought for £7 on Amazon with plenty of spare glue sticks. A must-have for any keen artist, maker or crafter.
These now dangle round my room and sway in the wind, and I think they look pretty great.
3. Jewelry holder
I must confess I am really bad at remembering to wear jewelry, and will sleep and shower in the same necklace for a week before remembering to change it. All the bits of jewelery I had were in a box in a huge tangle, so I decided to make something to display the bits I had and use up odds and ends I had in my 'stuff to deal with later' drawer.
This twig was one I came across on from the park back home, where I was taking my dog for a walk. She did try to steal it from me, but she was no match for my creative intentions for it.

Epigram / Helena Raymond-Hayling
I used hot glue to affix all kinds of bits and bobs to the stick, and because it's really porous, they hold really well. Belt buckles, buttons, broken necklace bits, brooches are all stuck on, as well as bits of yarn and string.
In the fork of the twig I have glued a bit of scrap fabric which came from an old skirt which was ripped and stained. Through the fabric I pierce my earrings, and the whole thing is hung on the wall with a piece of string and a drawing pin.
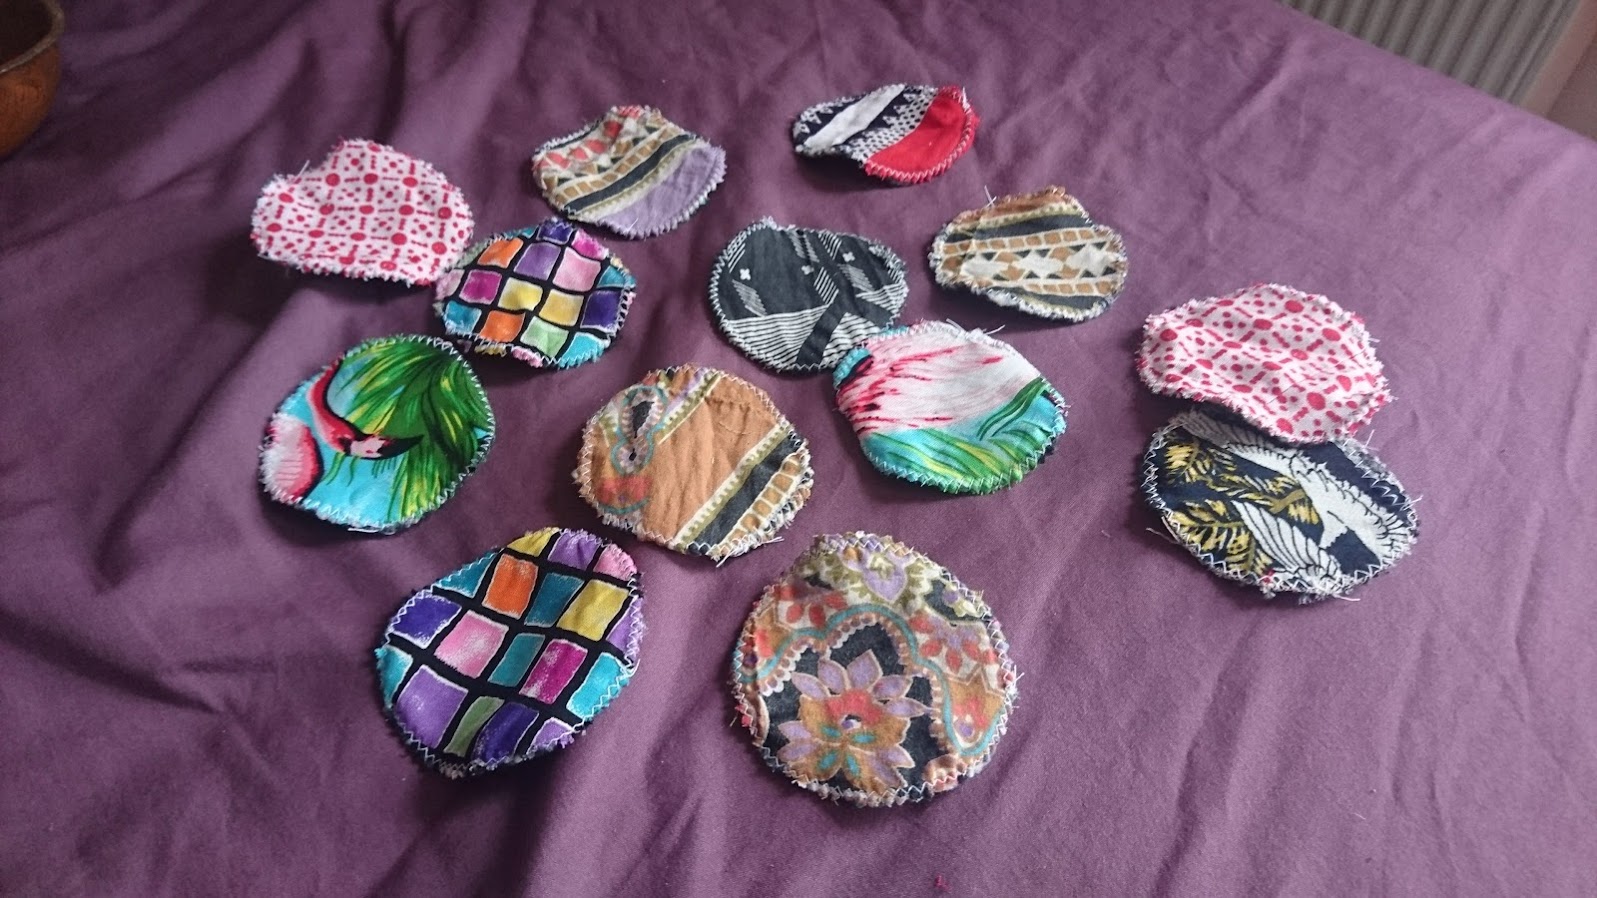
4. Makeup pads
These guys are really simple. Cotton pads and makeup wipes are so wasteful, and non recyclable, so I wanted to make myself a reusable alternative.
You do need some amount of sewing capabilities to make them look super cute, but you can make them with no sewing at all.
Epigram / Helena Raymond-Hayling
Here I have used two scrap fabrics: one of fleecy material (was actually a fleece baby blanket like this one) with discs of other scrap material (bits of old shorts, tops, tote bags etc.)
To make them round I drew round a mug with a marker pen, and cut out the circles in equal numbers from each fabric. Next I lined up the circles and used a zigzag stitch to sew round the edges with my sewing machine. I only did this to make them all look pretty and different, but the bits of fleecy material on their own would have done the job just fine.
I chuck these inside a pillow case and put them through the wash with all my other clothes, and have survived a year already without falling apart. These make amazing presents, I have a couple of satisfied friends who now have a greener way to remove their makeup.
5. Food wraps
After seeing some adverts for beeswax food wraps, I decided to give making them a go, and was pleasantly surprised by how easy they were.
For this, I used scrap fabrics (again, bits of old clothes mainly), and spent £6 on a pack of soy candle wax flakes (Amazon).
The idea is that you iron the wax into the fabric between two layers of greaseproof paper (so to not get wax on your ironing board). When they're done, you can wrap food in them and keep the wraps in the right shape using the heat of your hands for a couple of seconds.
These are a great alternative to cling film and foil, which are often difficult to recycle and costly to keep buying and throwing away.
What are your favourite ways to reuse everyday items? Let us know in the comments below or on social media